Spug 面向中小型企业设计的轻量级无 Agent 的自动化运维平台,整合了主机管理、主机批量执行、主机在线终端、文件在线上传下载、应用发布部署、在线任务计划、配置中心、监控、报警等一系列功能。
准备环境
Python 3.6及以上
Mysql 5.5及以上
安装步骤
以下安装步骤假设项目部署在一台Centos7系统的/data/spug目录下。
Clone项目代码
$ git clone https://github.com/openspug/spug /data/spug
$ cd /data/spug
$ git checkout x.x.x   # x.x.x 为指定的发行版本,例如 git checkout v2.2.2
2. 下载已编译打包后的前端项目
将下载好的前端压缩包解压到指定目录,x.x.x 是的你下载好的压缩包版本
访问 Github 比较慢的情况下,可以在尝试在 Gitee 下载。
https://files.gitee.com/group1/M00/0E/A5/wKgCNF7XPCGAUr4jABOs65K143g0263.gz?token=de9ae6c118f46a49fbe69a31c2597c73&ts=1591770648&attname=spug_web_2.3.1.tar.gz&disposition=attachment
$ tar xf spug_web_x.x.x.tar.gz -C /data/spug/spug_web/;
3. 创建运行环境
# 安装依赖
$ yum install mariadb-devel python3-devel gcc openldap-devel redis nginx supervisor
# 创建虚拟环境
$ cd /data/spug/spug_api
$ python3 -m venv venv
$ source venv/bin/activate
# 安装python包
$ pip install -r requirements.txt -i https://pypi.doubanio.com/simple/
$ pip install gunicorn mysqlclient -i https://pypi.doubanio.com/simple/
4. 修改后端配置
后端默认使用的 Sqlite 数据库,通过修改配置使用 MYSQL 作为后端数据库,如何使用SqlServer数据库?
在 spug_api/spug/ 目录下创建 overrides.py 文件,启动后端服务后会自动覆盖默认的配置,避免直接修改 settings.py 以便于后期获取新版本。
$ vi spug_api/spug/overrides.py

DEBUG = False
ALLOWED_HOSTS = ['127.0.0.1']

DATABASES = {
'default': {
'ATOMIC_REQUESTS': True,
'ENGINE': 'django.db.backends.mysql',
'NAME': 'spug',             # 替换为自己的数据库名,请预先创建好编码为utf8mb4的数据库
'USER': 'spug_user',        # 数据库用户名
'PASSWORD': 'spug_passwd',  # 数据库密码
'HOST': '127.0.0.1',        # 数据库地址
'OPTIONS': {
'charset': 'utf8mb4',
'sql_mode': 'STRICT_TRANS_TABLES',
#'unix_socket': '/opt/mysql/mysql.sock' # 如果是本机数据库,且不是默认安装的Mysql,需要指定Mysql的socket文件路径
}
}
}
5. 初始化数据库
$ cd /data/spug/spug_api
$ python manage.py initdb
6. 创建默认管理员账户
$ python manage.py useradd -u admin -p spug.dev -s -n 管理员

# -u 用户名
# -p 密码
# -s 超级管理员
# -n 用户昵称
7. 创建启动服务脚本
$ vi /etc/supervisord.d/spug.ini

[program:spug-api]
command = bash /data/spug/spug_api/tools/start-api.sh
autostart = true
stdout_logfile = /data/spug/spug_api/logs/api.log
redirect_stderr = true

[program:spug-ws]
command = bash /data/spug/spug_api/tools/start-ws.sh
autostart = true
stdout_logfile = /data/spug/spug_api/logs/ws.log
redirect_stderr = true

[program:spug-worker]
command = bash /data/spug/spug_api/tools/start-worker.sh
autostart = true
stdout_logfile = /data/spug/spug_api/logs/worker.log
redirect_stderr = true

[program:spug-monitor]
command = bash /data/spug/spug_api/tools/start-monitor.sh
autostart = true
stdout_logfile = /data/spug/spug_api/logs/monitor.log
redirect_stderr = true

[program:spug-scheduler]
command = bash /data/spug/spug_api/tools/start-scheduler.sh
autostart = true
stdout_logfile = /data/spug/spug_api/logs/scheduler.log
redirect_stderr = true
8. 创建前端nginx配置文件
$ vi /etc/nginx/conf.d/spug.conf

server {
listen 80;
server_name _;     # 修改为自定义的访问域名
root /data/spug/spug_web/build/;
client_max_body_size 20m;   # 该值会影响文件管理器可上传文件的大小限制,请合理调整

location ^~ /api/ {
rewrite ^/api(.*) $1 break;
proxy_pass http://127.0.0.1:9001;
proxy_redirect off;
proxy_set_header X-Real-IP $remote_addr;
}

location ^~ /api/ws/ {
rewrite ^/api(.*) $1 break;
proxy_pass http://127.0.0.1:9002;
proxy_http_version 1.1;
proxy_set_header Upgrade $http_upgrade;
proxy_set_header Connection "Upgrade";
proxy_set_header X-Real-IP $remote_addr;
}

error_page 404 /index.html;
}
注意:如果你没有在 spug.conf 中指定 server_name 则需要把 /etc/nginx/nginx.conf 中默认的 server 块注释或删除后才能正常访问, 否则会打开 Nginx 默认页面。
9. 启动服务
# 设置开机启动
$ systemctl enable nginx
$ systemctl enable redis
$ systemctl enable supervisord

# 启动服务
$ systemctl restart nginx
$ systemctl restart redis
$ systemctl restart supervisord
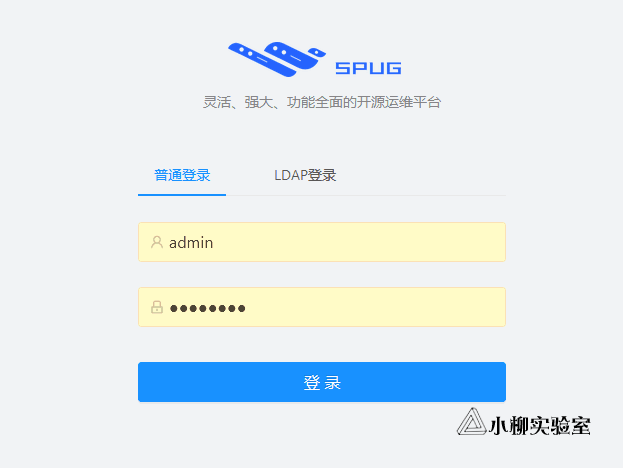
10. 访问测试
通过浏览器访问测试。
11. 安全建议
请确保安装的 Redis 仅监听在 127.0.0.1。如果需要使用密码认证的 Redis 请参考 如何配置使用带密码的 Redis 服务?
确保服务端接收到请求 HTTP Header 的 X-Real-IP 为真实的客户端地址,Spug 会使用该IP提高安全性(当登用户的IP发生变化时Token自动失效)。
微信扫描下方的二维码阅读本文